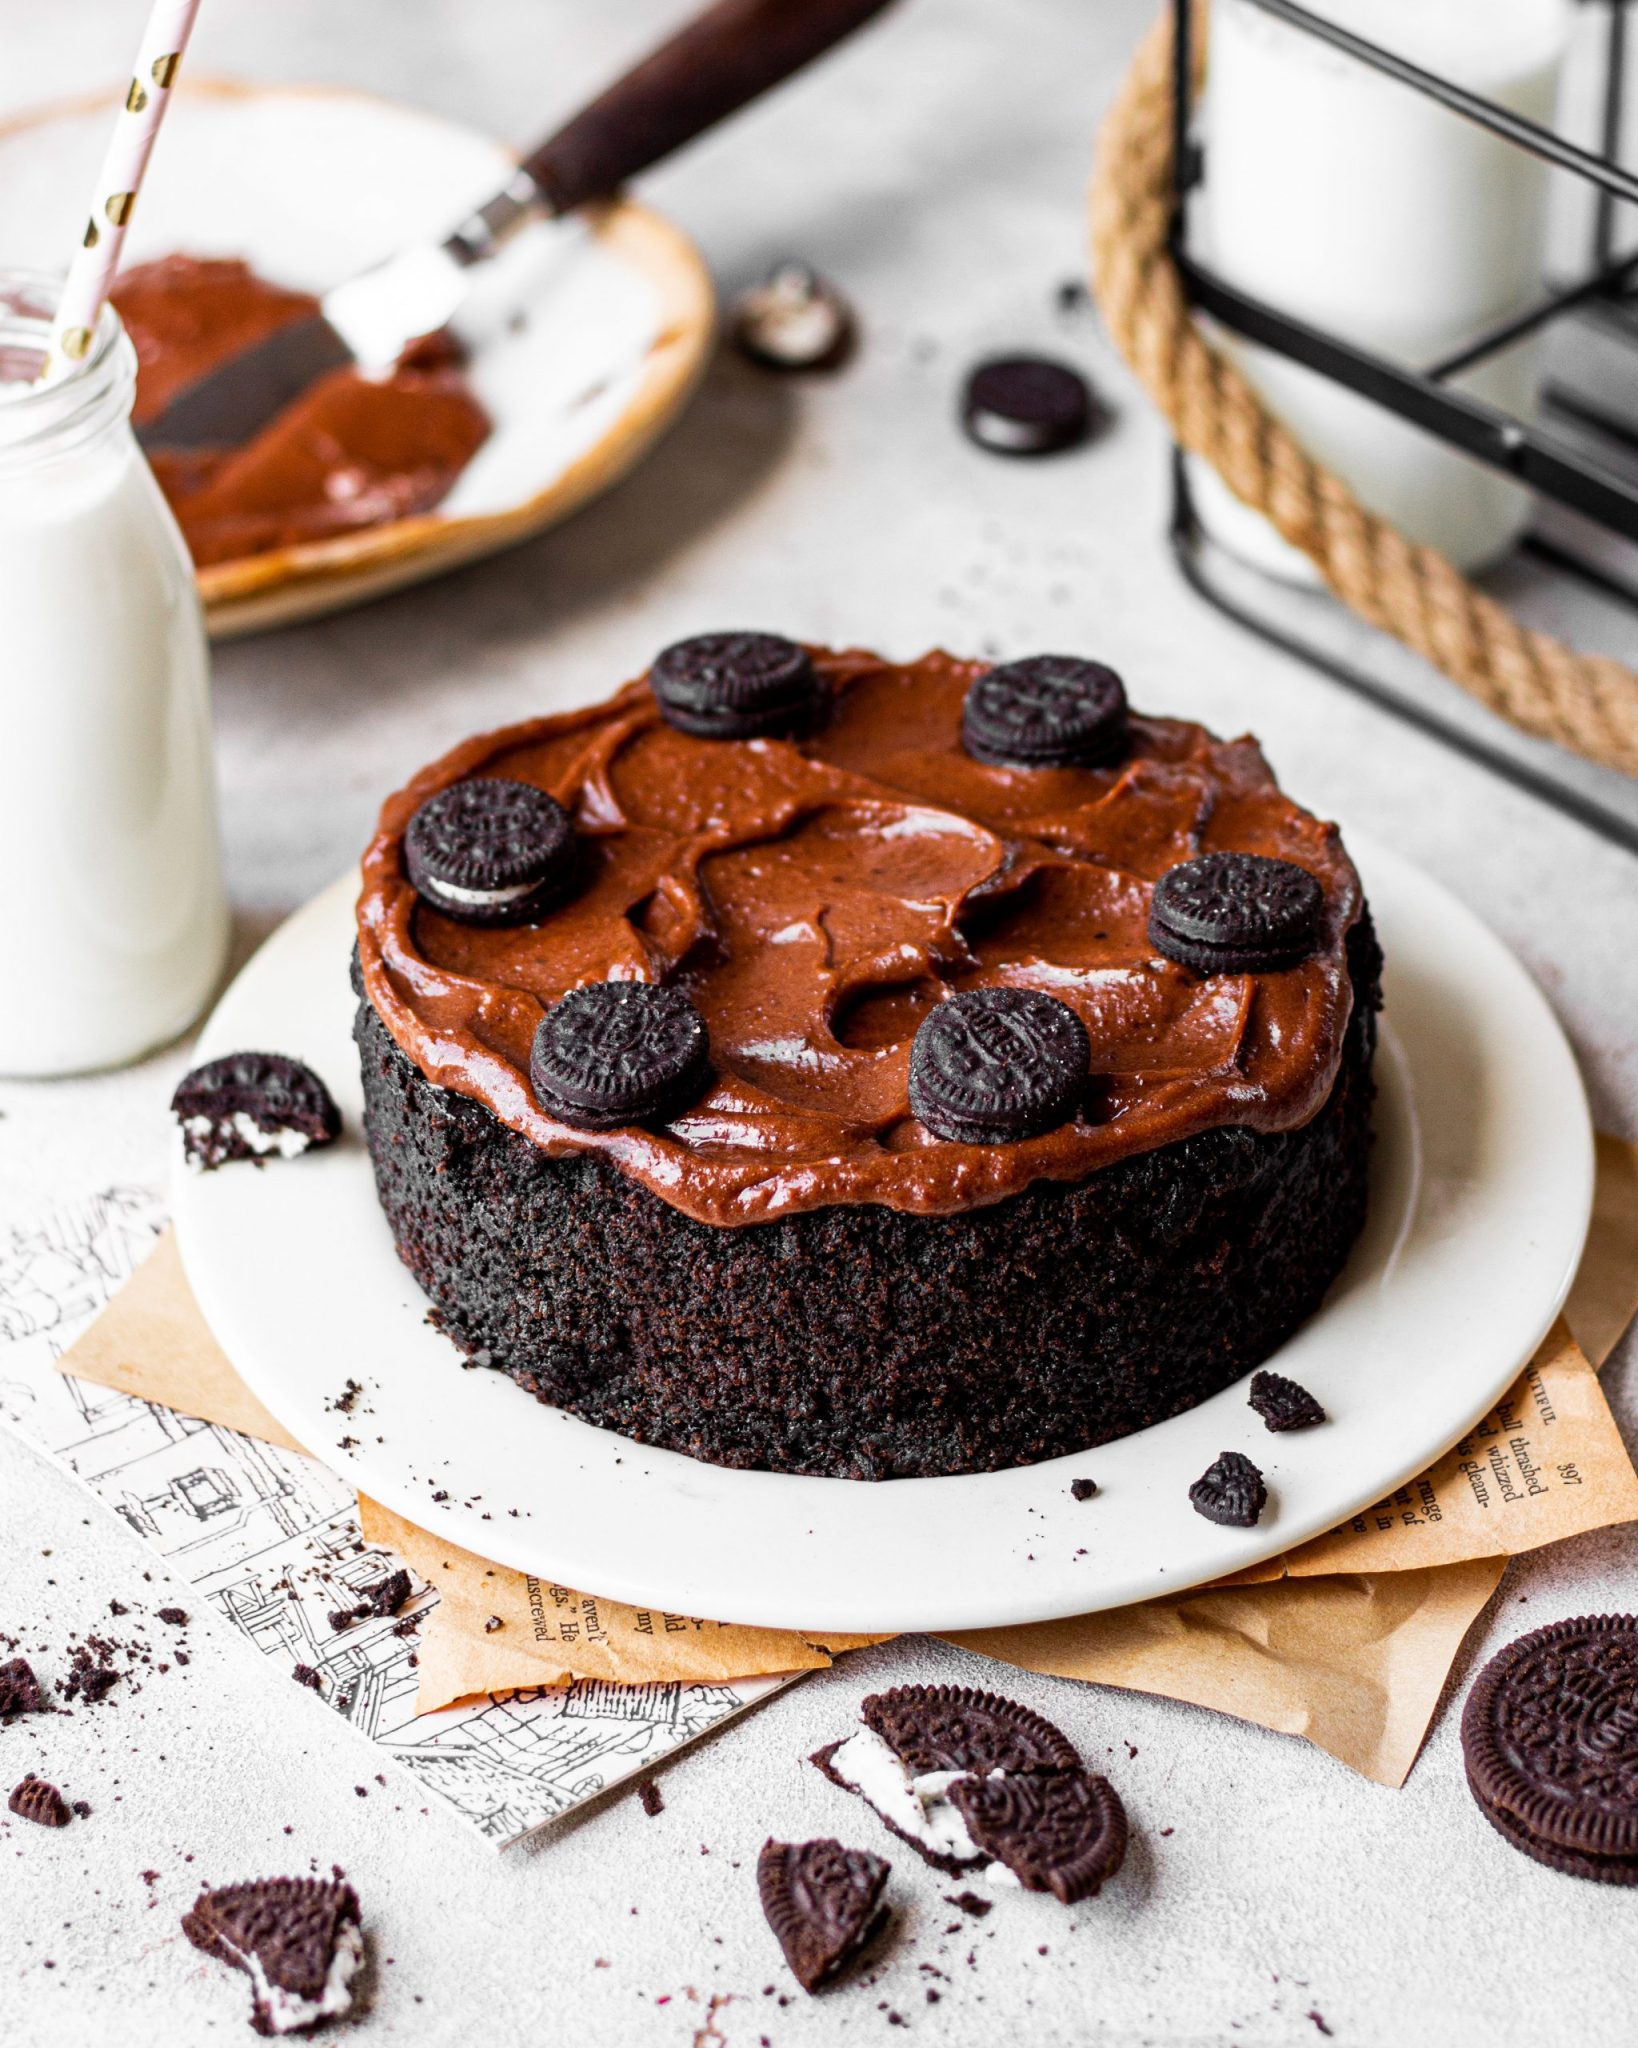
Calling all biscuit fiends and cake crusaders! Oven on the fritz? Don’t let that stop your sweet tooth from doing a victory dance. Today, we’re unlocking the secrets of Pressure Cooker Biscuit Cake: No-Oven Oreo or Parle-G Magic. Yes, you heard that right – a layered cake of pure, deliciousness whipped up in your trusty pressure cooker. Forget preheating, ditch the timers, and get ready to bake (well, steam!) a delightful treat that’s as easy as 1, 2, biscuit!
This recipe is a lifesaver for those baking emergencies, a delightful surprise for tea parties, or simply a fun way to experiment with your favourite biscuits. Whether you’re a die-hard Oreo devotee or a Parle-G purist, this recipe caters to your biscuit cravings. So, dust off your pressure cooker, grab your mixing bowl, and let’s embark on a journey of biscuit-y brilliance!
Ingredients for Biscuit Cooker Cake Magic:
For the Biscuit Crumb Base:
- 200g Biscuits (Oreo or Parle-G)
- 50g Melted Butter
For the Creamy Filling:
- 250ml Milk (full-fat for extra richness)
- 1/2 cup Sugar
- 2 tbsp Cornflour (mixed with a little milk to make a slurry)
- 1 tsp Vanilla Extract
- A pinch of Salt
For the Whipped Topping (Optional):
- 200ml Fresh Cream
- 1 tbsp Icing Sugar
- 1/2 tsp Vanilla Extract
Prepping for Biscuit Cooker Cake:
- Gather your biscuit brigade: Whether you’re Team Oreo or Team Parle-G, assemble your biscuit battalion of choice. You can even mix and match for a truly unique flavour profile!
- Crumble those cookies! Here comes the fun part! Using a food processor, blender, or good old-fashioned elbow grease, pulverise those biscuits into a fine crumb.
- Butter Up the Base: In a mixing bowl, combine the biscuit crumbs with the melted butter. Mix well until everything resembles a gloriously crumbly dough.
- Grease Up Your Pressure Cooker: No need for a fancy cake tin here! Grab some butter or baking spray and give your pressure cooker’s inner pot a good slick.
Method for Biscuit Cooker Cake:
- Press that Base: Now comes the moment of truth for your biscuit base. Transfer the crumb mixture to your greased pressure cooker pot. Using your fingers or a spoon, press the mixture down firmly and evenly to create a compact, biscuit-y layer.
- Milk Magic: In a saucepan, whisk together the milk and sugar until the sugar dissolves. Heat the mixture gently over medium heat, stirring constantly, until it comes to a simmer.
- Cornflour Power: Remember that cornflour slurry you made earlier? Here’s its time to shine! Gradually add the cornflour slurry to the simmering milk, whisking continuously until the mixture thickens and becomes smooth. This will be your creamy, dreamy filling.
- Flavour Fusion: Remove the thickened milk mixture from the heat and stir in the vanilla extract and salt. Give it a good taste – if you crave a sweeter cake, feel free to add a touch more sugar.
- Building the Beauty: Carefully pour the hot creamy filling over the biscuit base in your pressure cooker. Make sure it’s evenly distributed.
- Pressure Cooker Power! Here’s where the magic happens. Close your pressure cooker, ensuring the lid is secure and the vent is closed. No need to add any water – the steam from the filling will be enough. Place the pressure cooker on medium heat and let it build pressure for about 5 minutes.
Important Note: Do not use the pressure cooker function for this recipe. We simply want to use the trapped steam to cook the cake.
- Cool Down Time: Once the 5 minutes are up, turn off the heat and let the pressure cooker cool down naturally for at least 20-30 minutes. Do not open the lid before the pressure releases completely.
- The Big Reveal: Once the pressure cooker is cool to the touch, carefully release any remaining pressure and open the lid. Your biscuit cake should be beautifully set and ready for the final touch.


